Boxing
Team USA Boxing
Gender: Male
Keyshawn Davis (USA) v/s Andy Cruz (USA)
Date: July 1, 2021
World Championship Final
Finals
Match Analysis
| Round 1 | Round 2 | Round 3 | |
|---|---|---|---|
Game Analysis |
|||
Punch Analysis |
|||
Top View |
|||
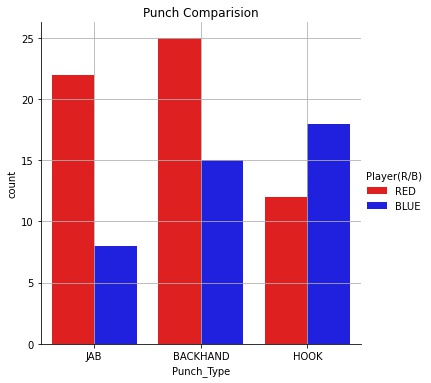
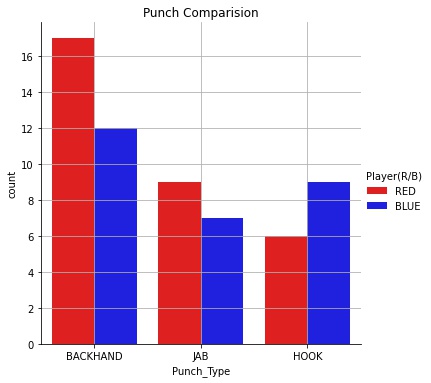
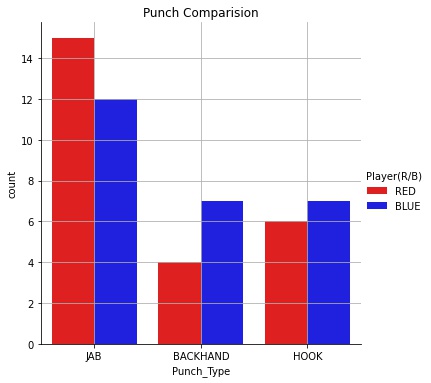
Punch Types (Red & Blue) |
|
|
|
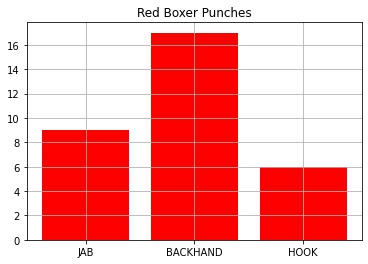
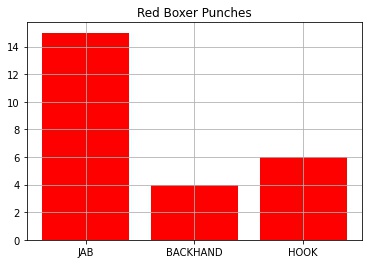
Punch Types (Red) |

|
|
|
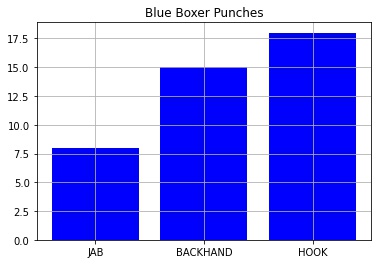
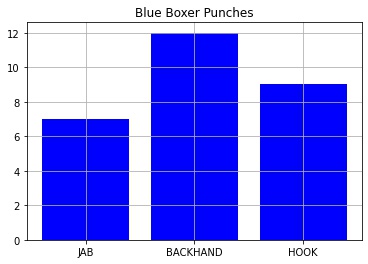
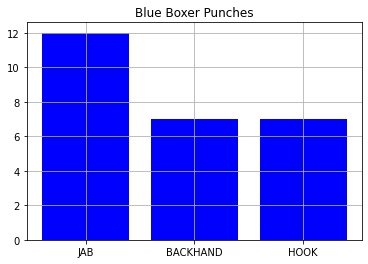
Punch Types (Blue) |
|
|
|
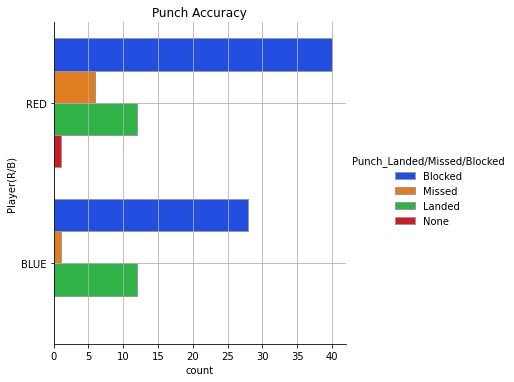
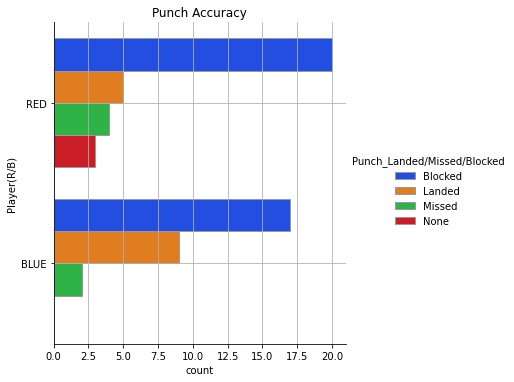
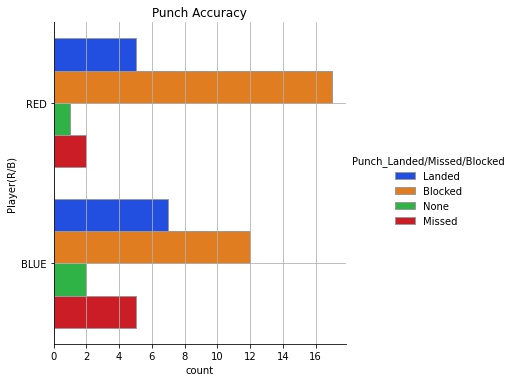
Punch Accuracy |
|
|
|
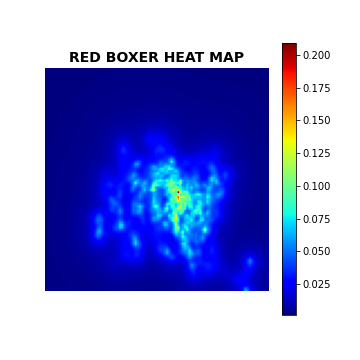
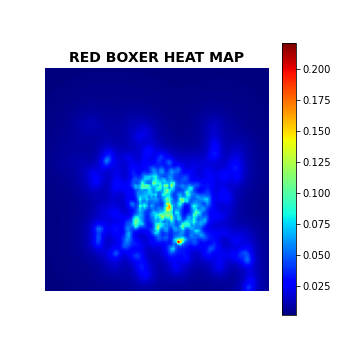
Punch Heatmap (Red) |
|
|

|
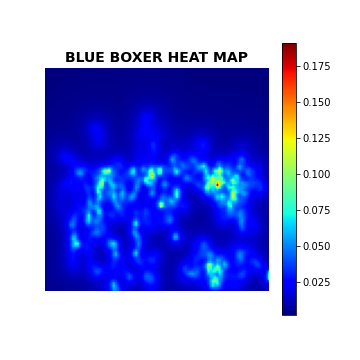
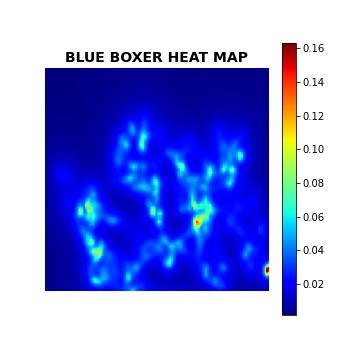
Punch Heatmap (Blue) |
|

|
|
Area of ring punches are landed (Red) |
|||
Area of ring punches are landed (Blue) |
|||
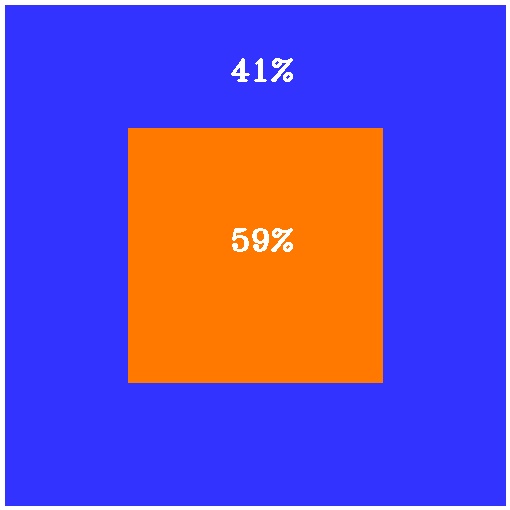
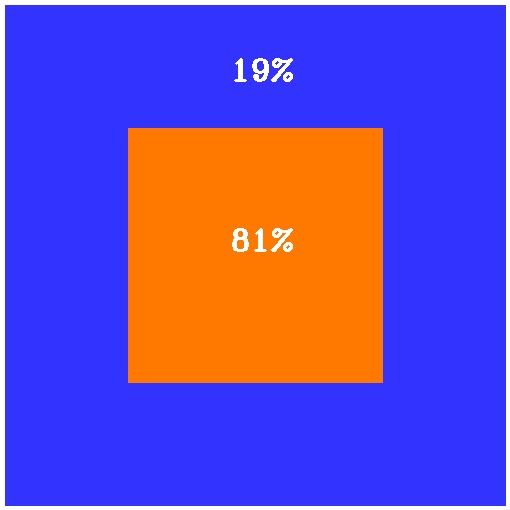
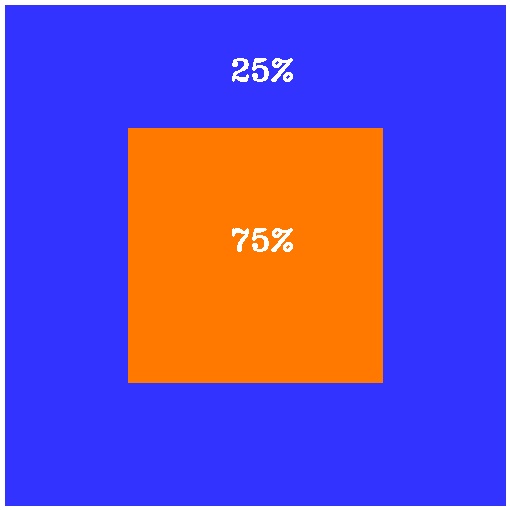
Percentage of punches thrown in ring zones (Red) |

|

|
|
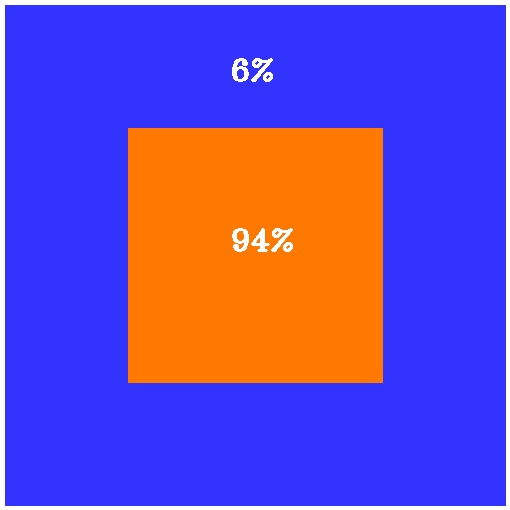
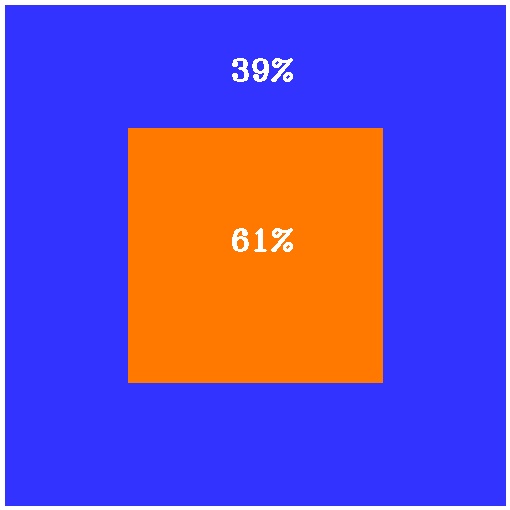
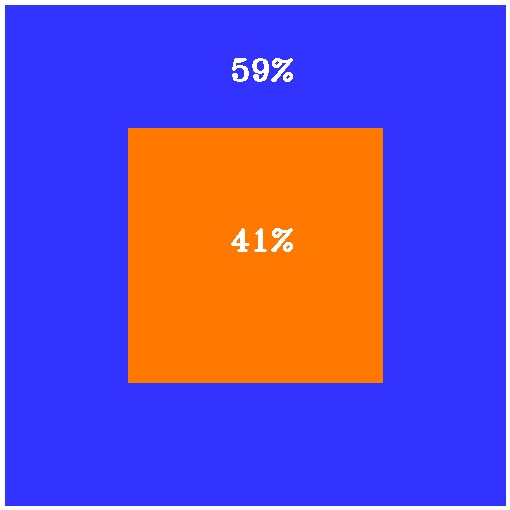
Percentage of punches thrown in ring zones (Blue) |

|
|

|
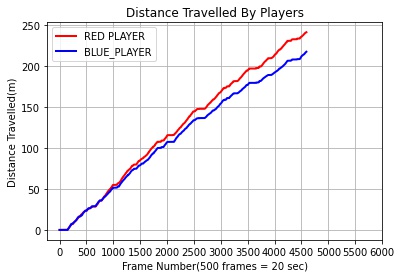
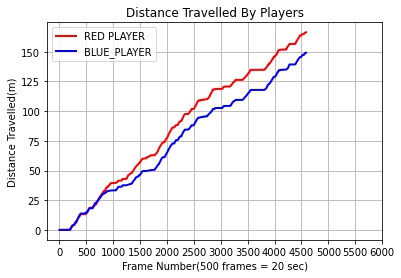
Distance Travelled in the Ring |
|

|
|
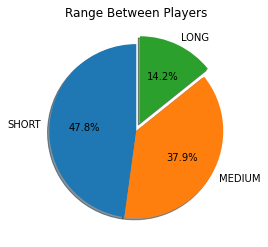
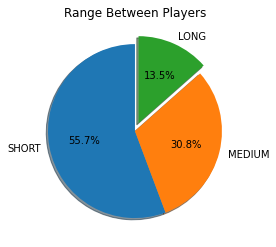
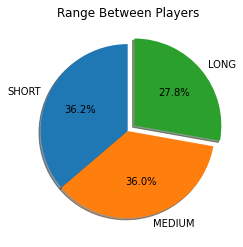
Range between players |
|
|
|
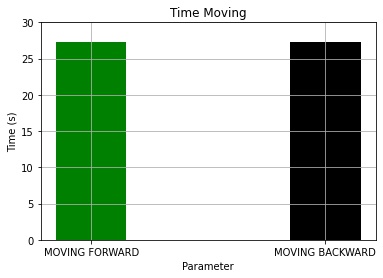
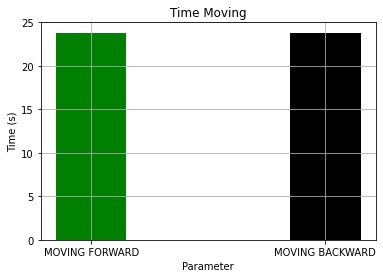
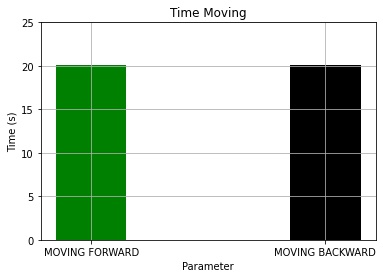
Time moving forward and backward |
|
|
|
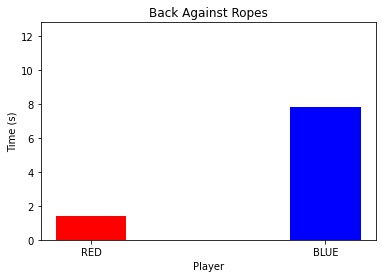
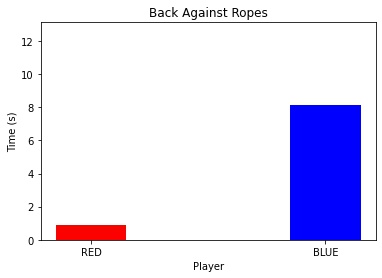
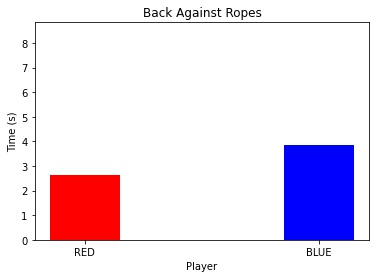
Time with back against the ropes |
|
|
|
Percentage of Time spent in ring zones (Red) |
|
|
|
Percentage of Time spent in ring zones (Blue) |
|

|

|
Punch Analytics (in .csv) |
|||
Other Analytics (in .csv) |